I’ve been re-acquainting myself with some of the capabilities of the GIMP lately. This is something I’ve stumbled on.
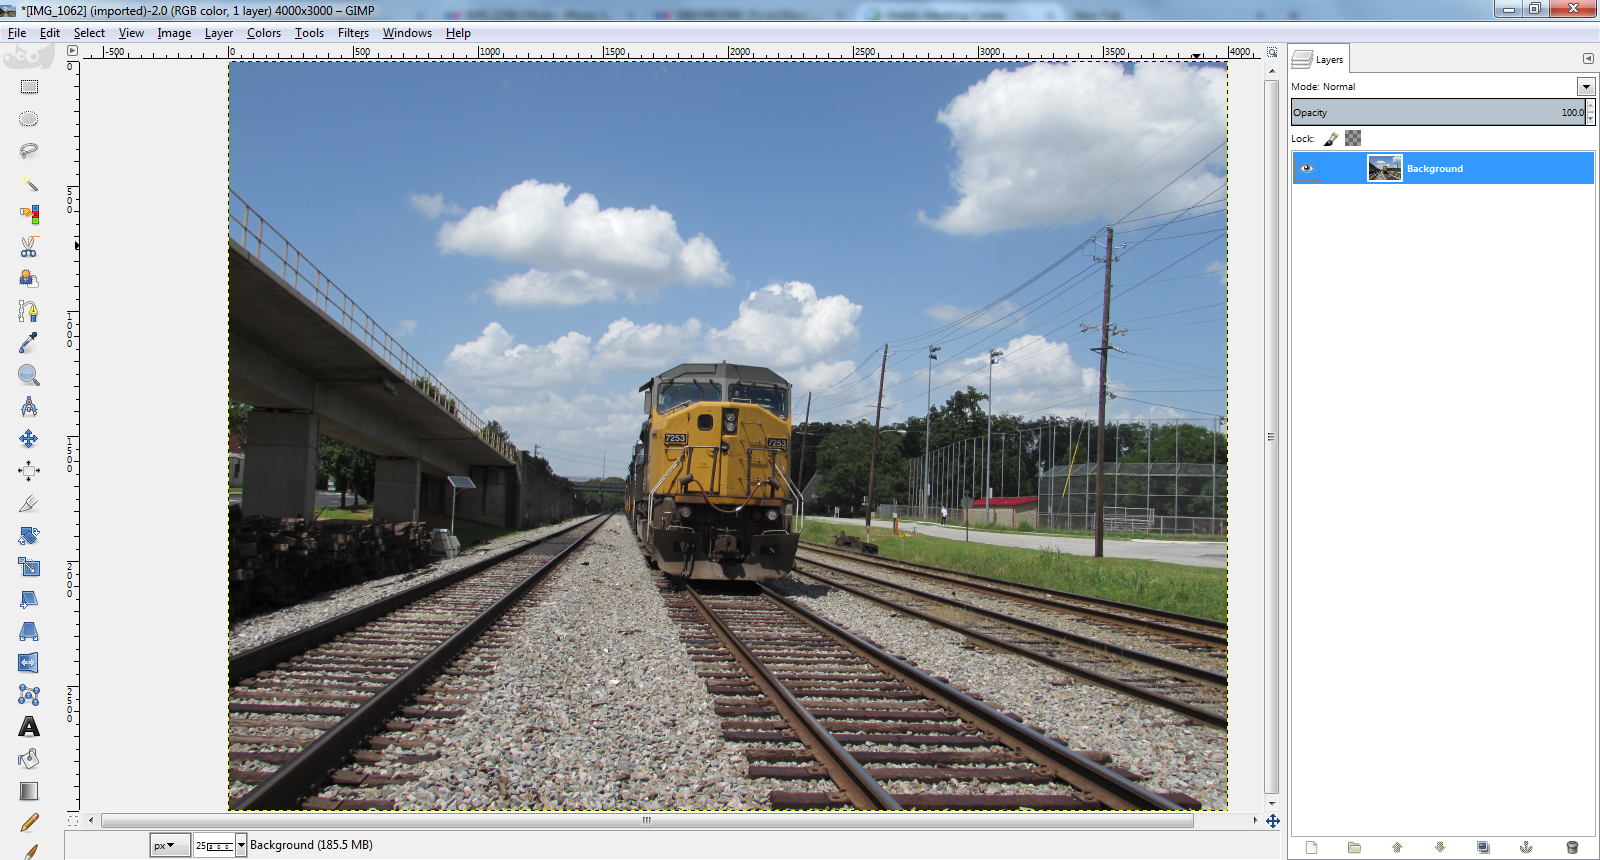
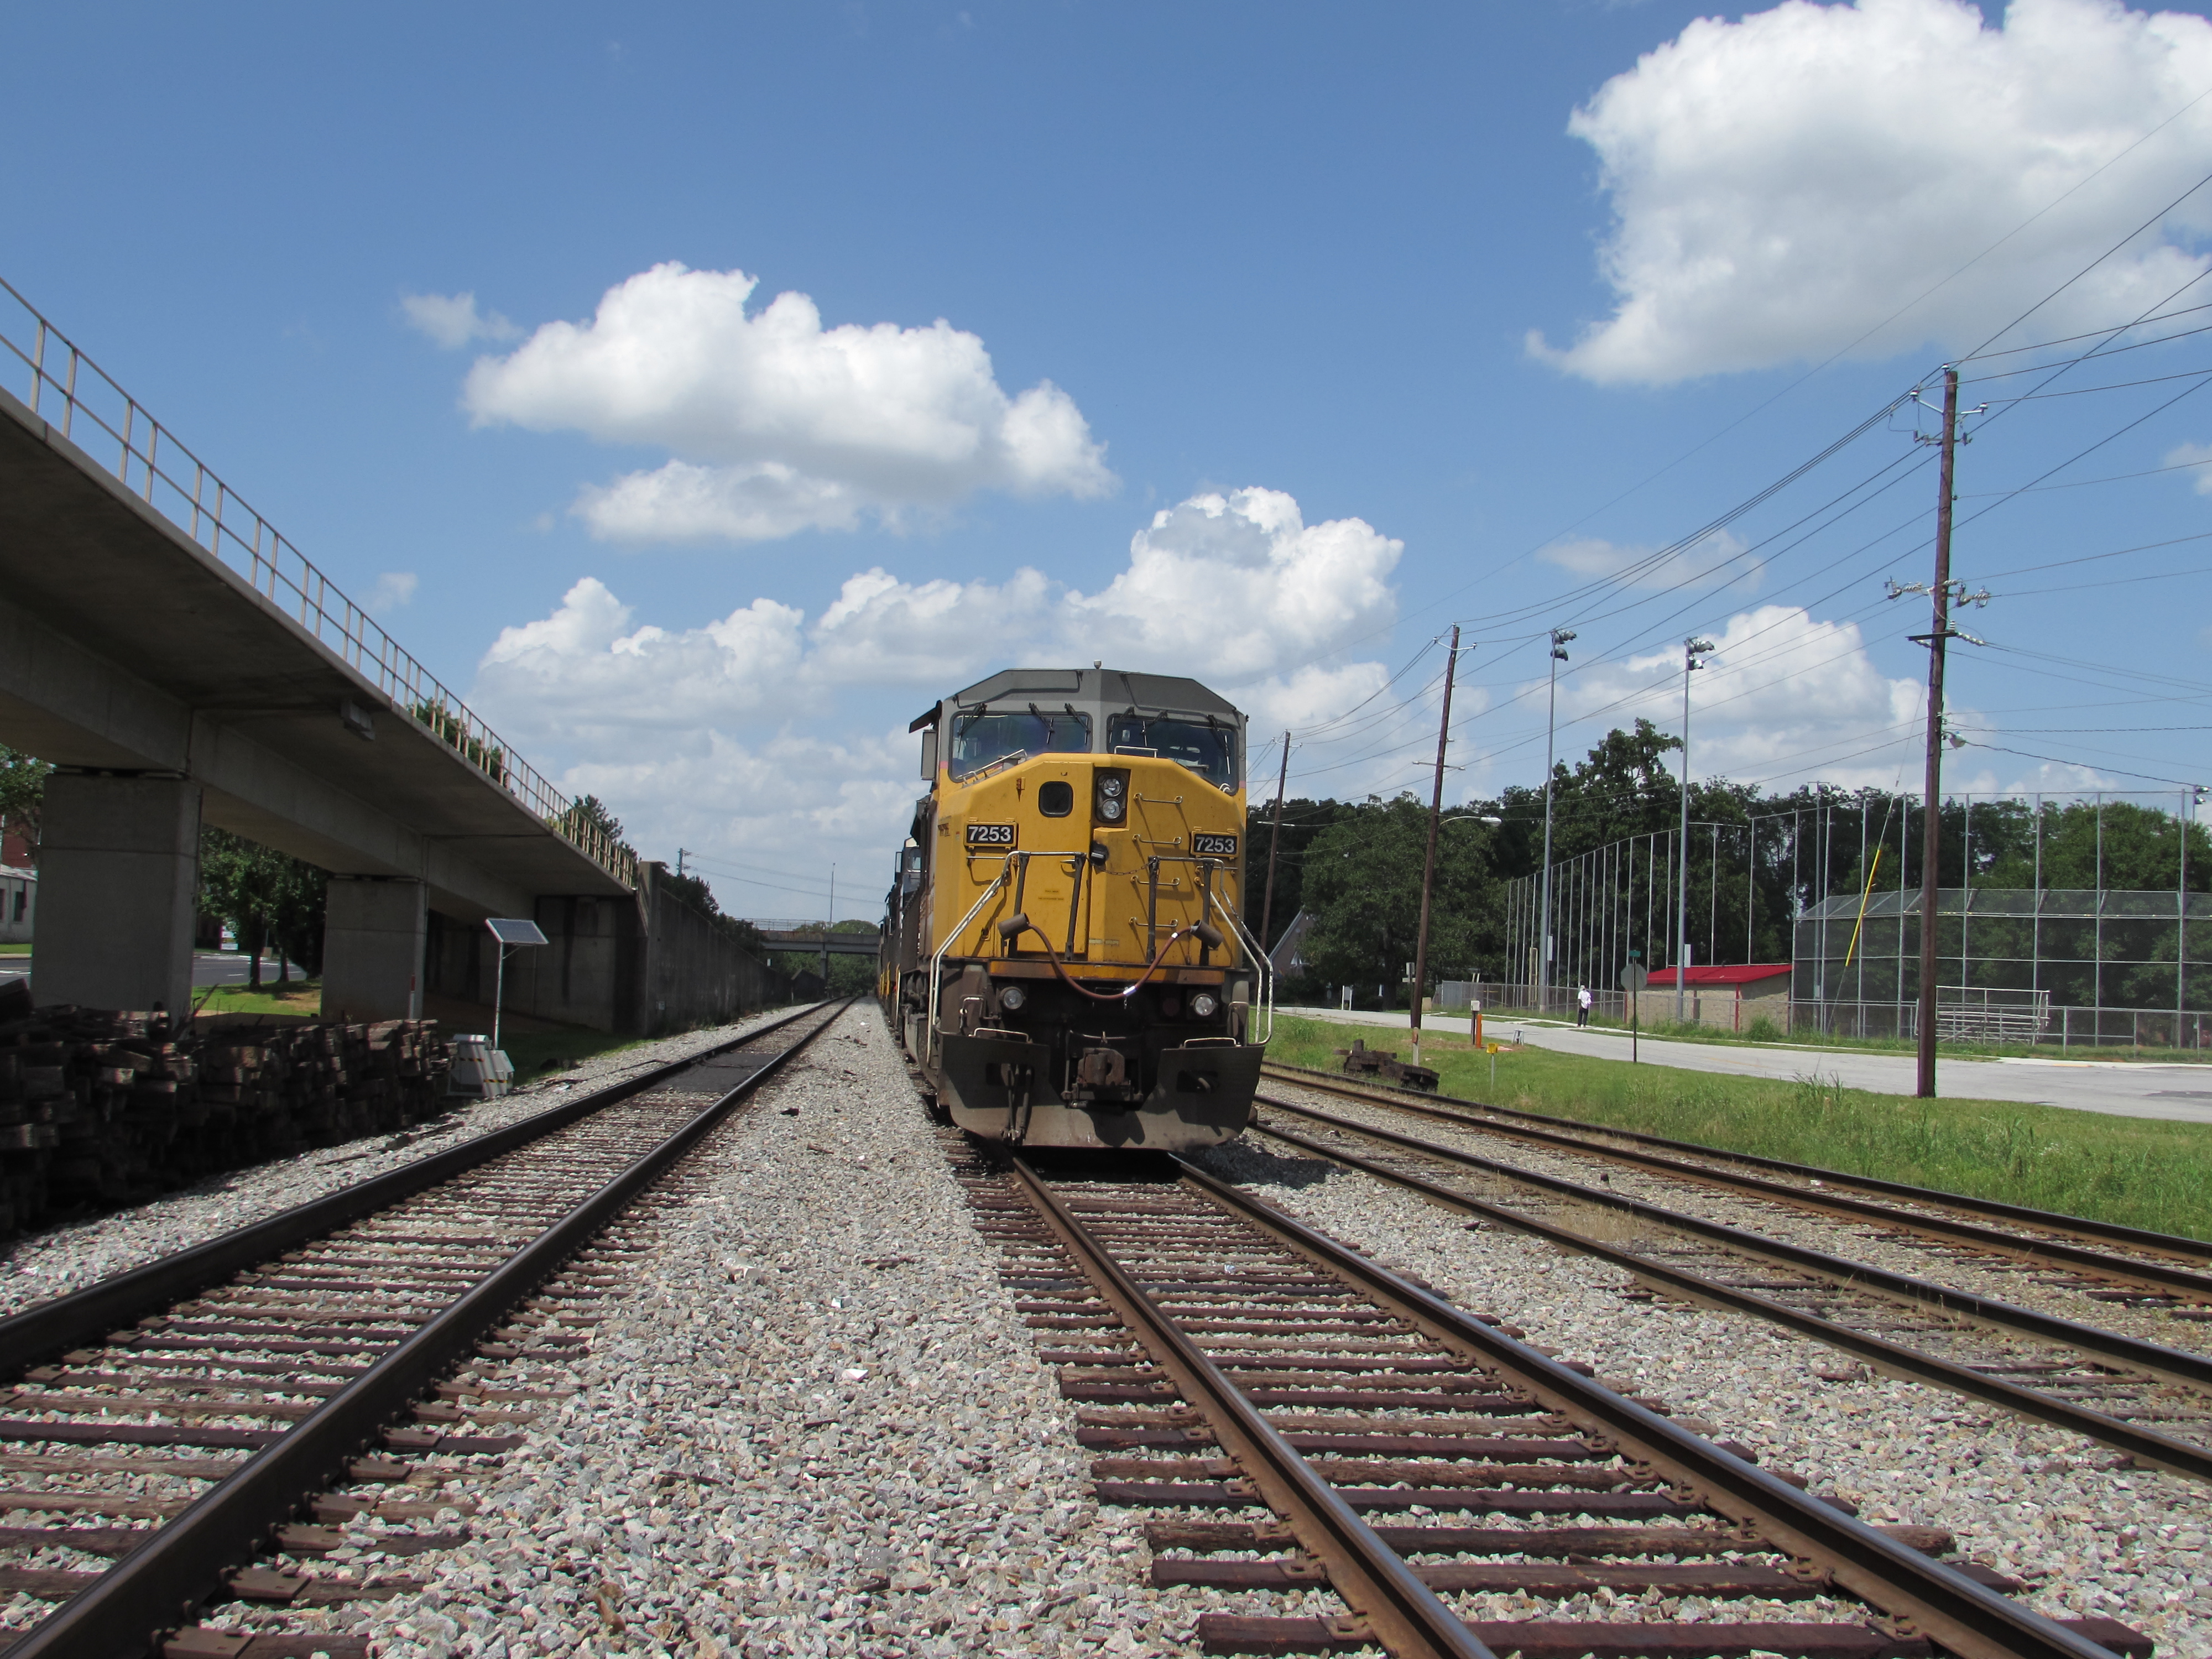
So this is how the image looks to start with:
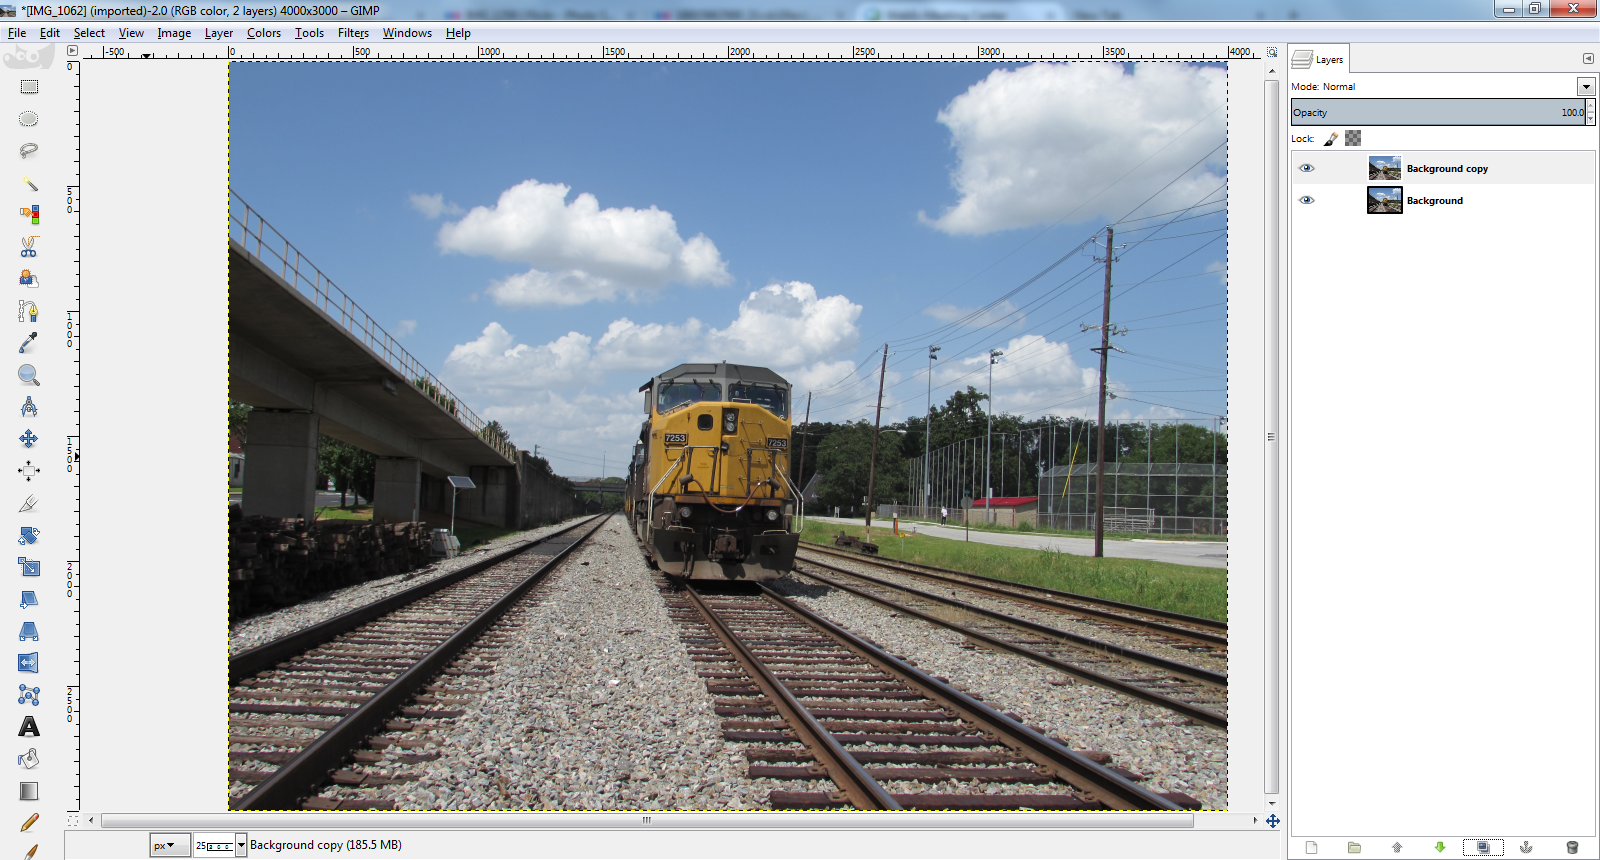
Duplicate the layer, because you are going to be doing stuff to it but still want the original:
Now in the top, duplicate later, use the channel mixer to make a monochrome image that is different from what you would get from the desaturate tool. In this particular instance I like the red channel. The train is nice and bright and the background has unreal contrast between the clouds and the sky.
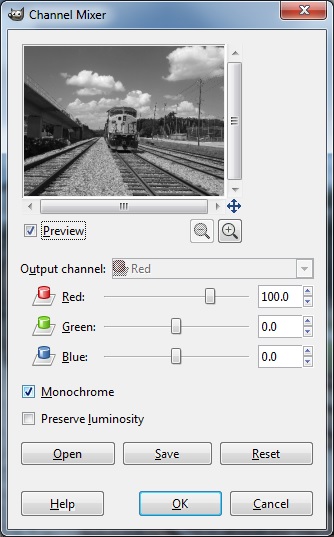
So now we have a black and white version, which is pretty nice in itself, but what else can we do with it?

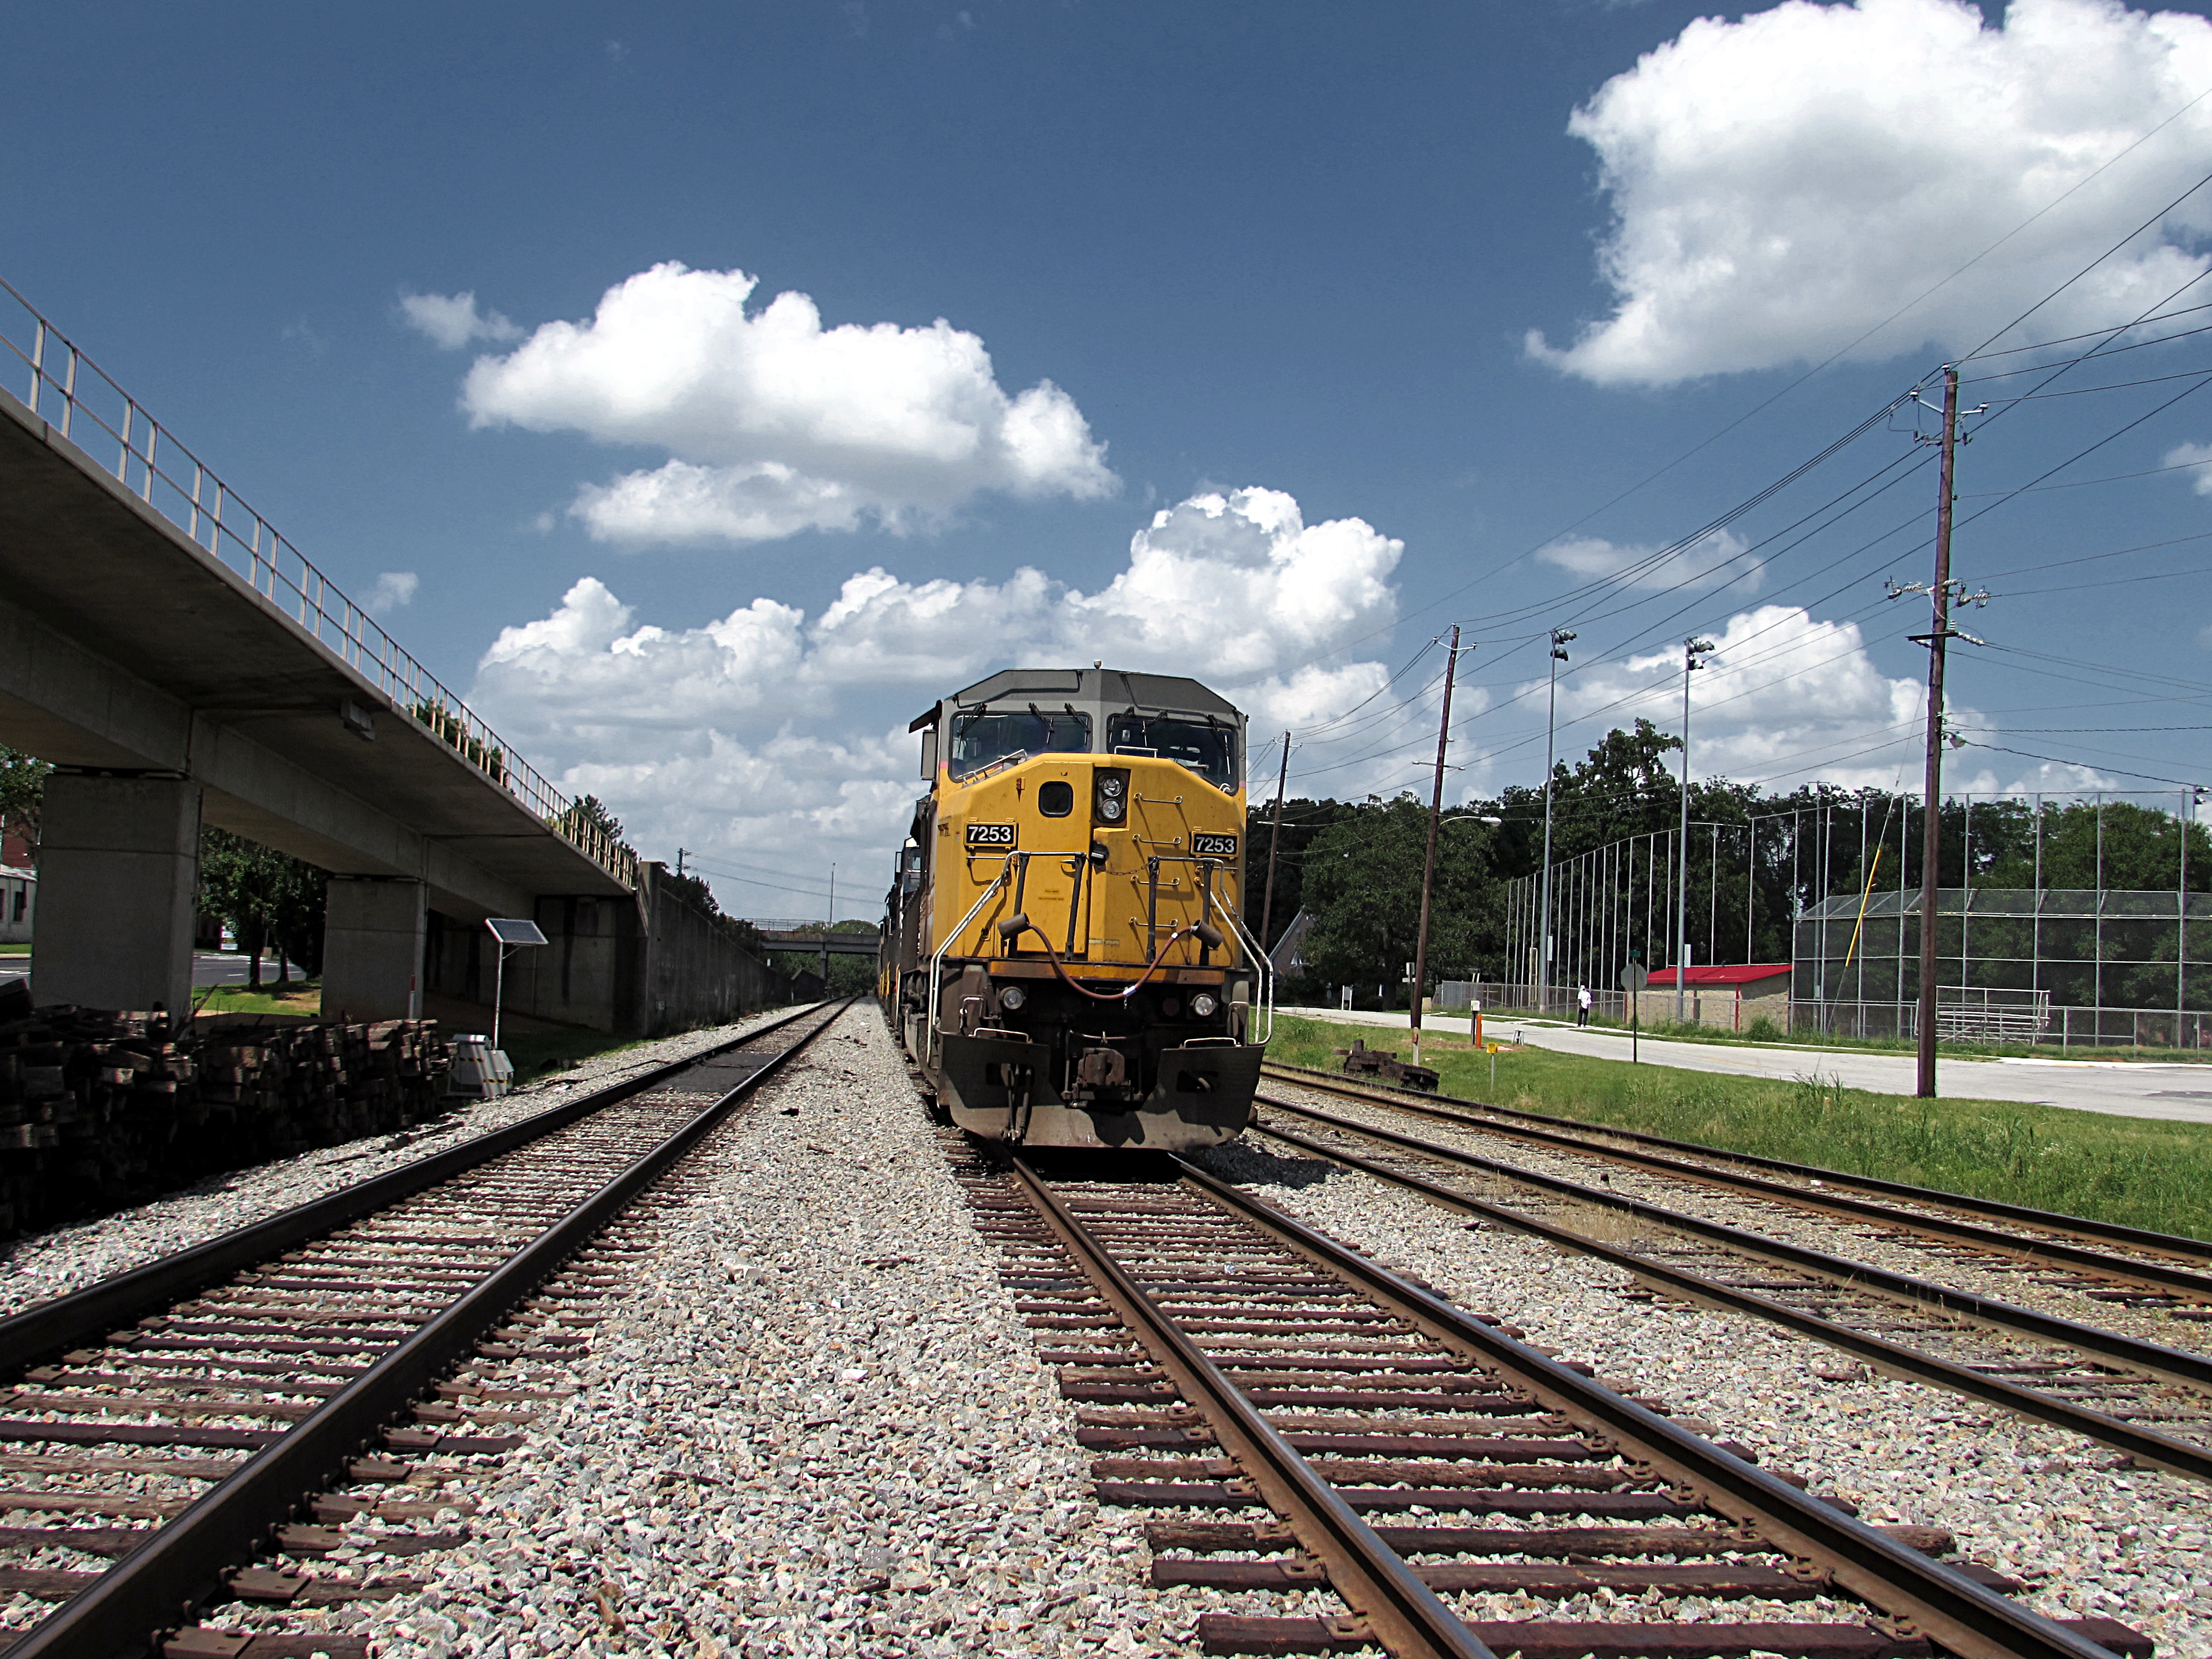
Change the layer mode to “Value” and now the light/dark contrasts of the black and white version are being combined with the color information of the original. Now we have those crazy clouds in the color version!
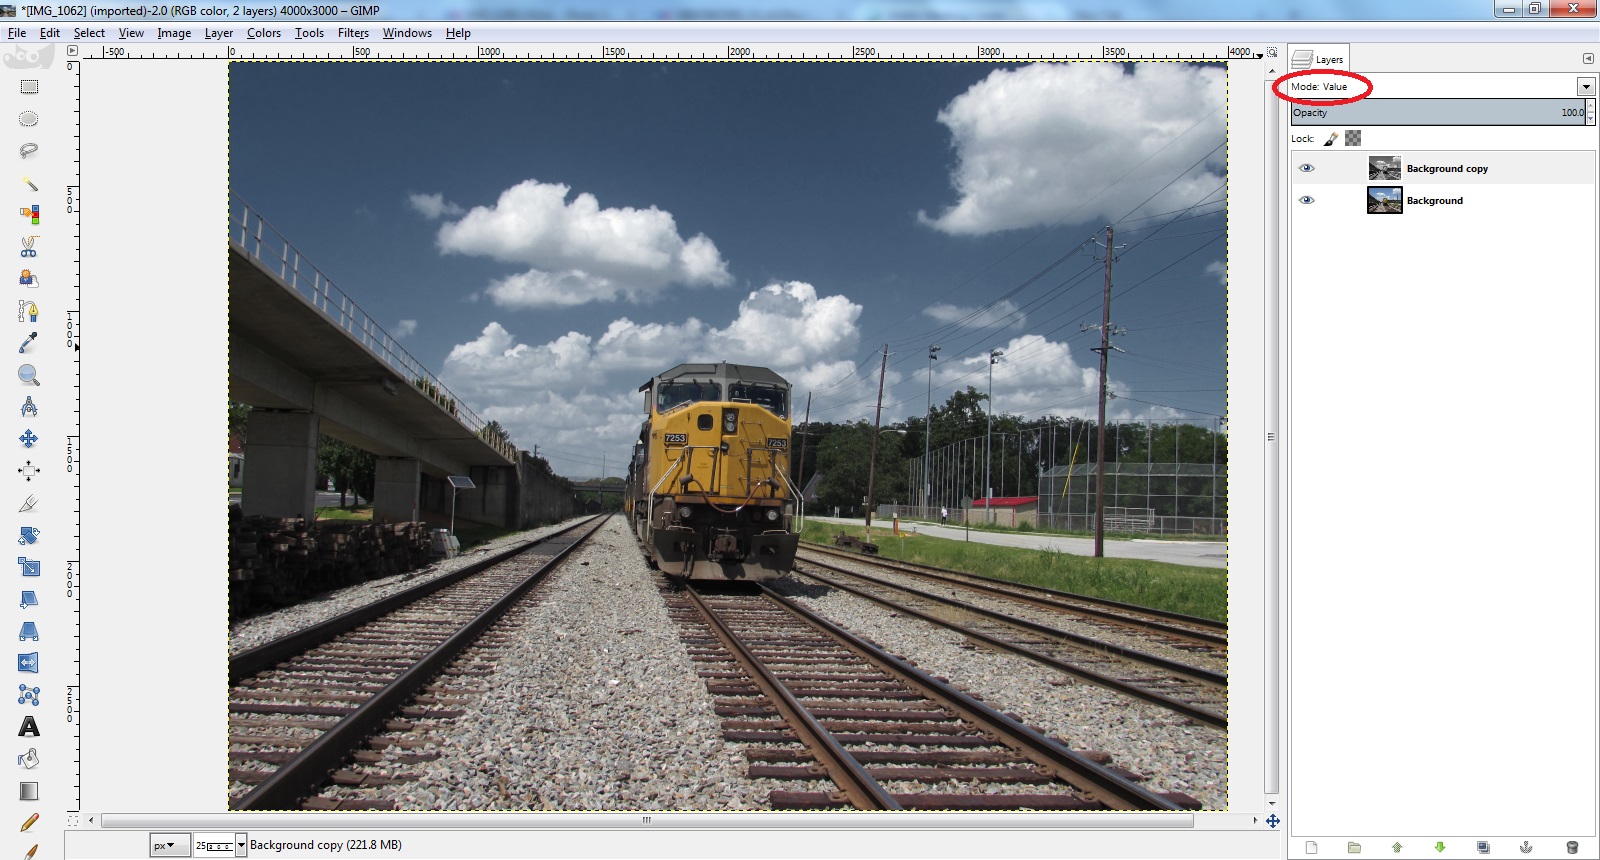
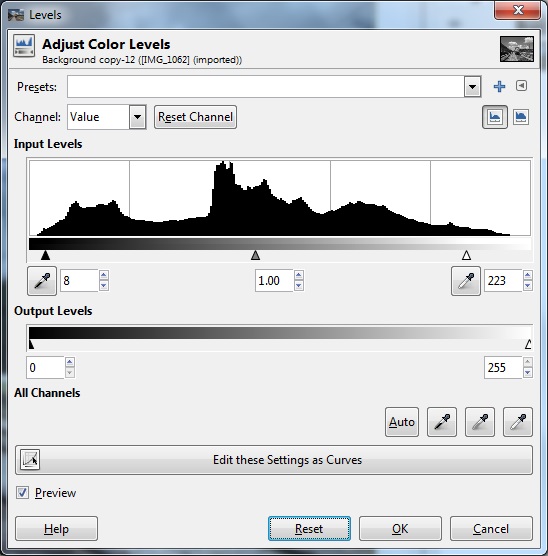
It kind of darkened everything a little bit too much though, mess around with Levels to brighten it.
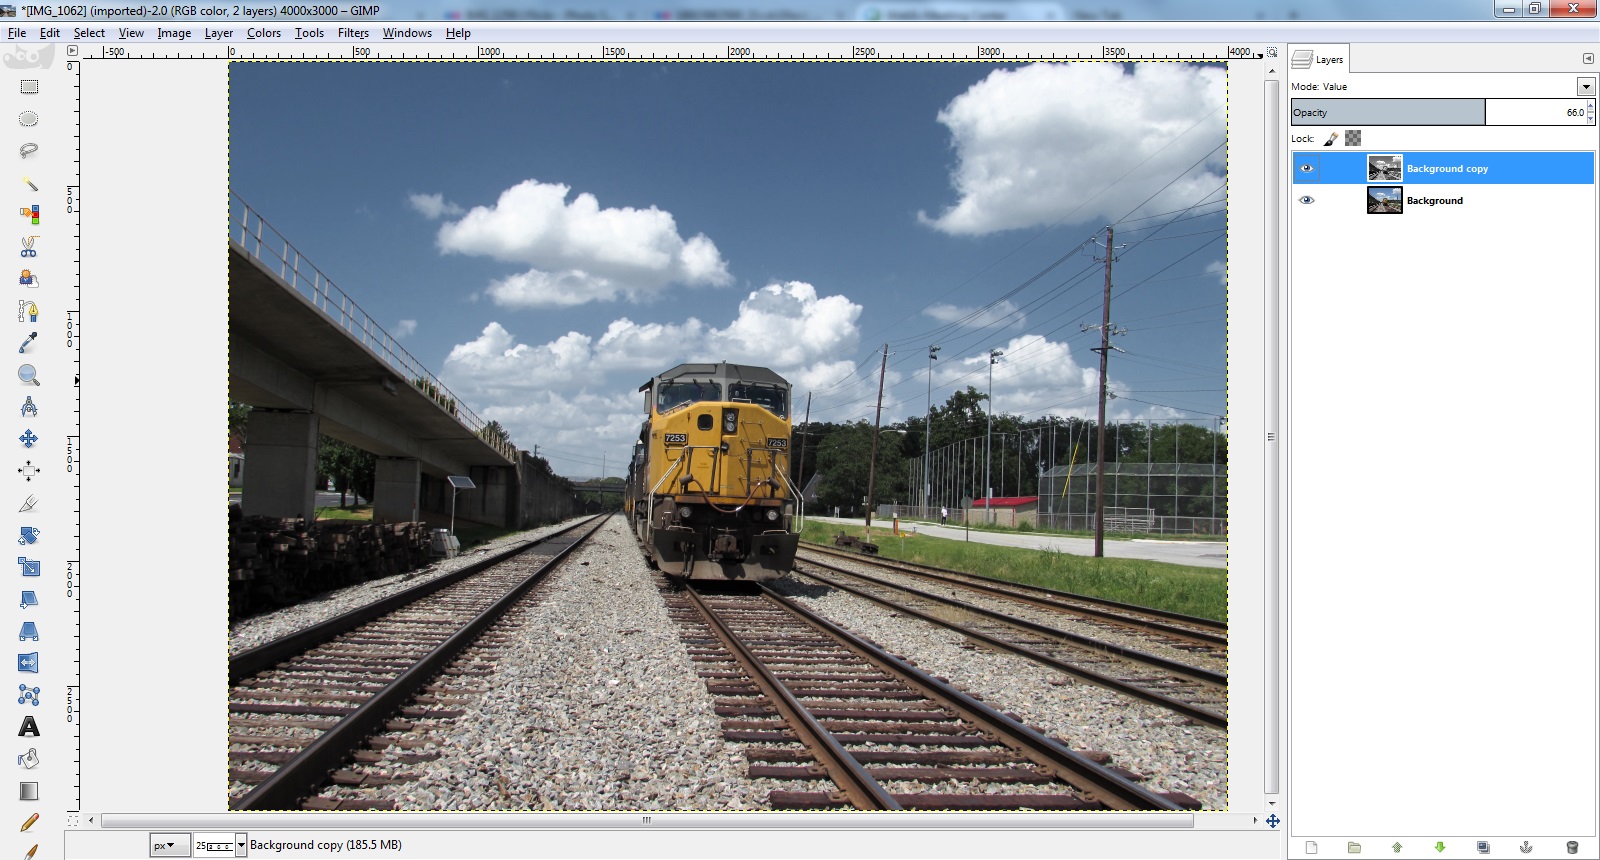
It may also be a bit too extreme in general, in which case adjusting the Opacity of the black and white layer will blend it with the original and split the difference.
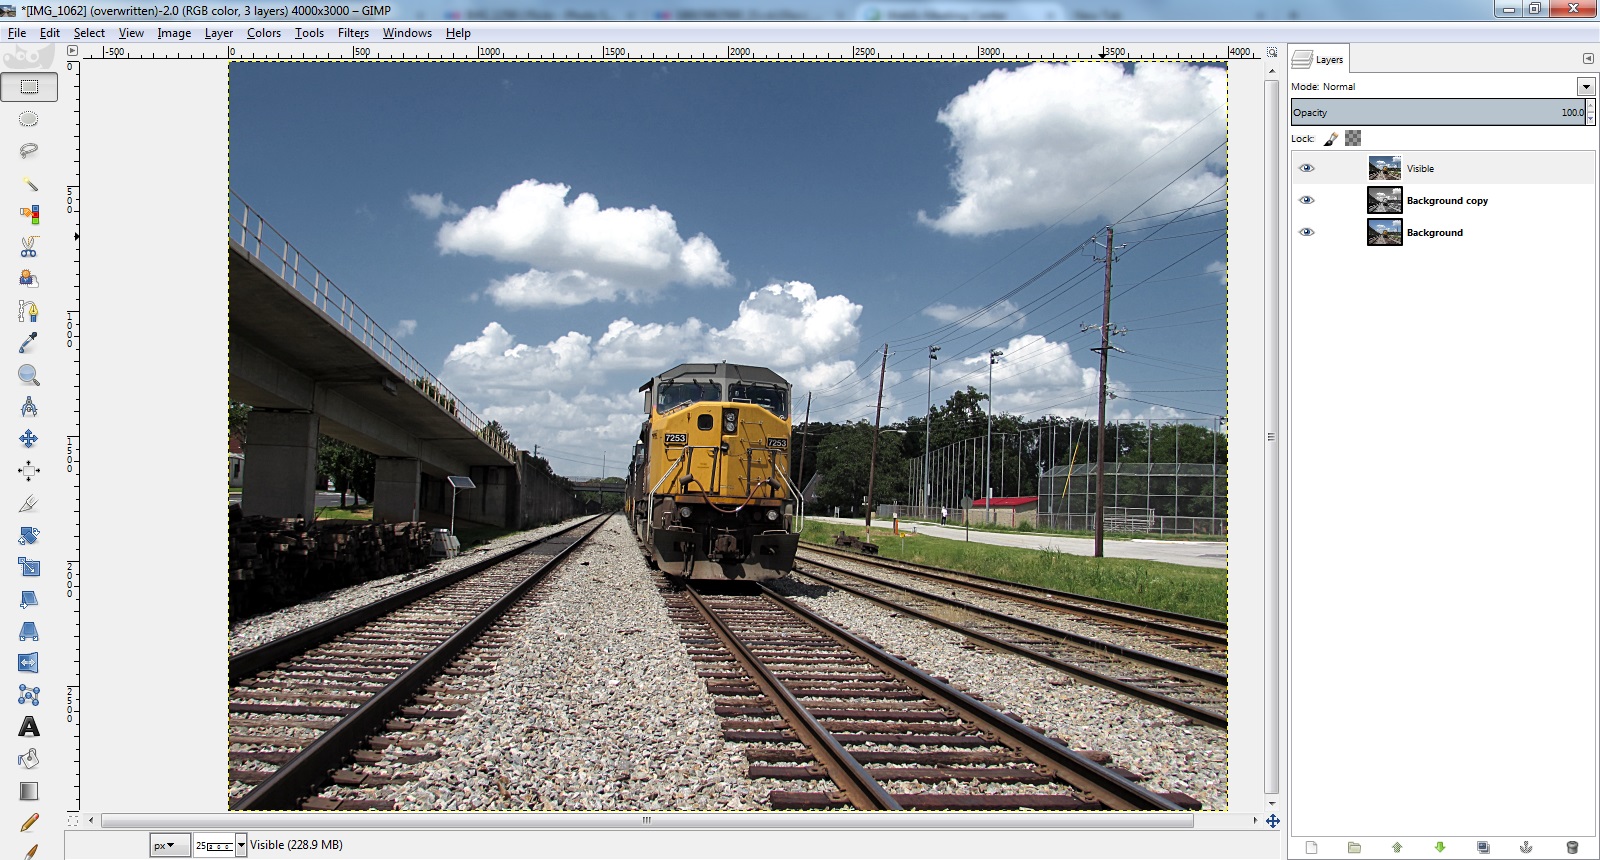
Make a new layer “from visible” to apply further effects to the combined image, such as levels/curves/etc, unsharp mask, whatever else you want to do.
This can produce a somewhat surreal looking image, and I imagine it would look pretty jarring with human or animal subjects, but maybe that’s what you want.
Full size before (click to enlarge):
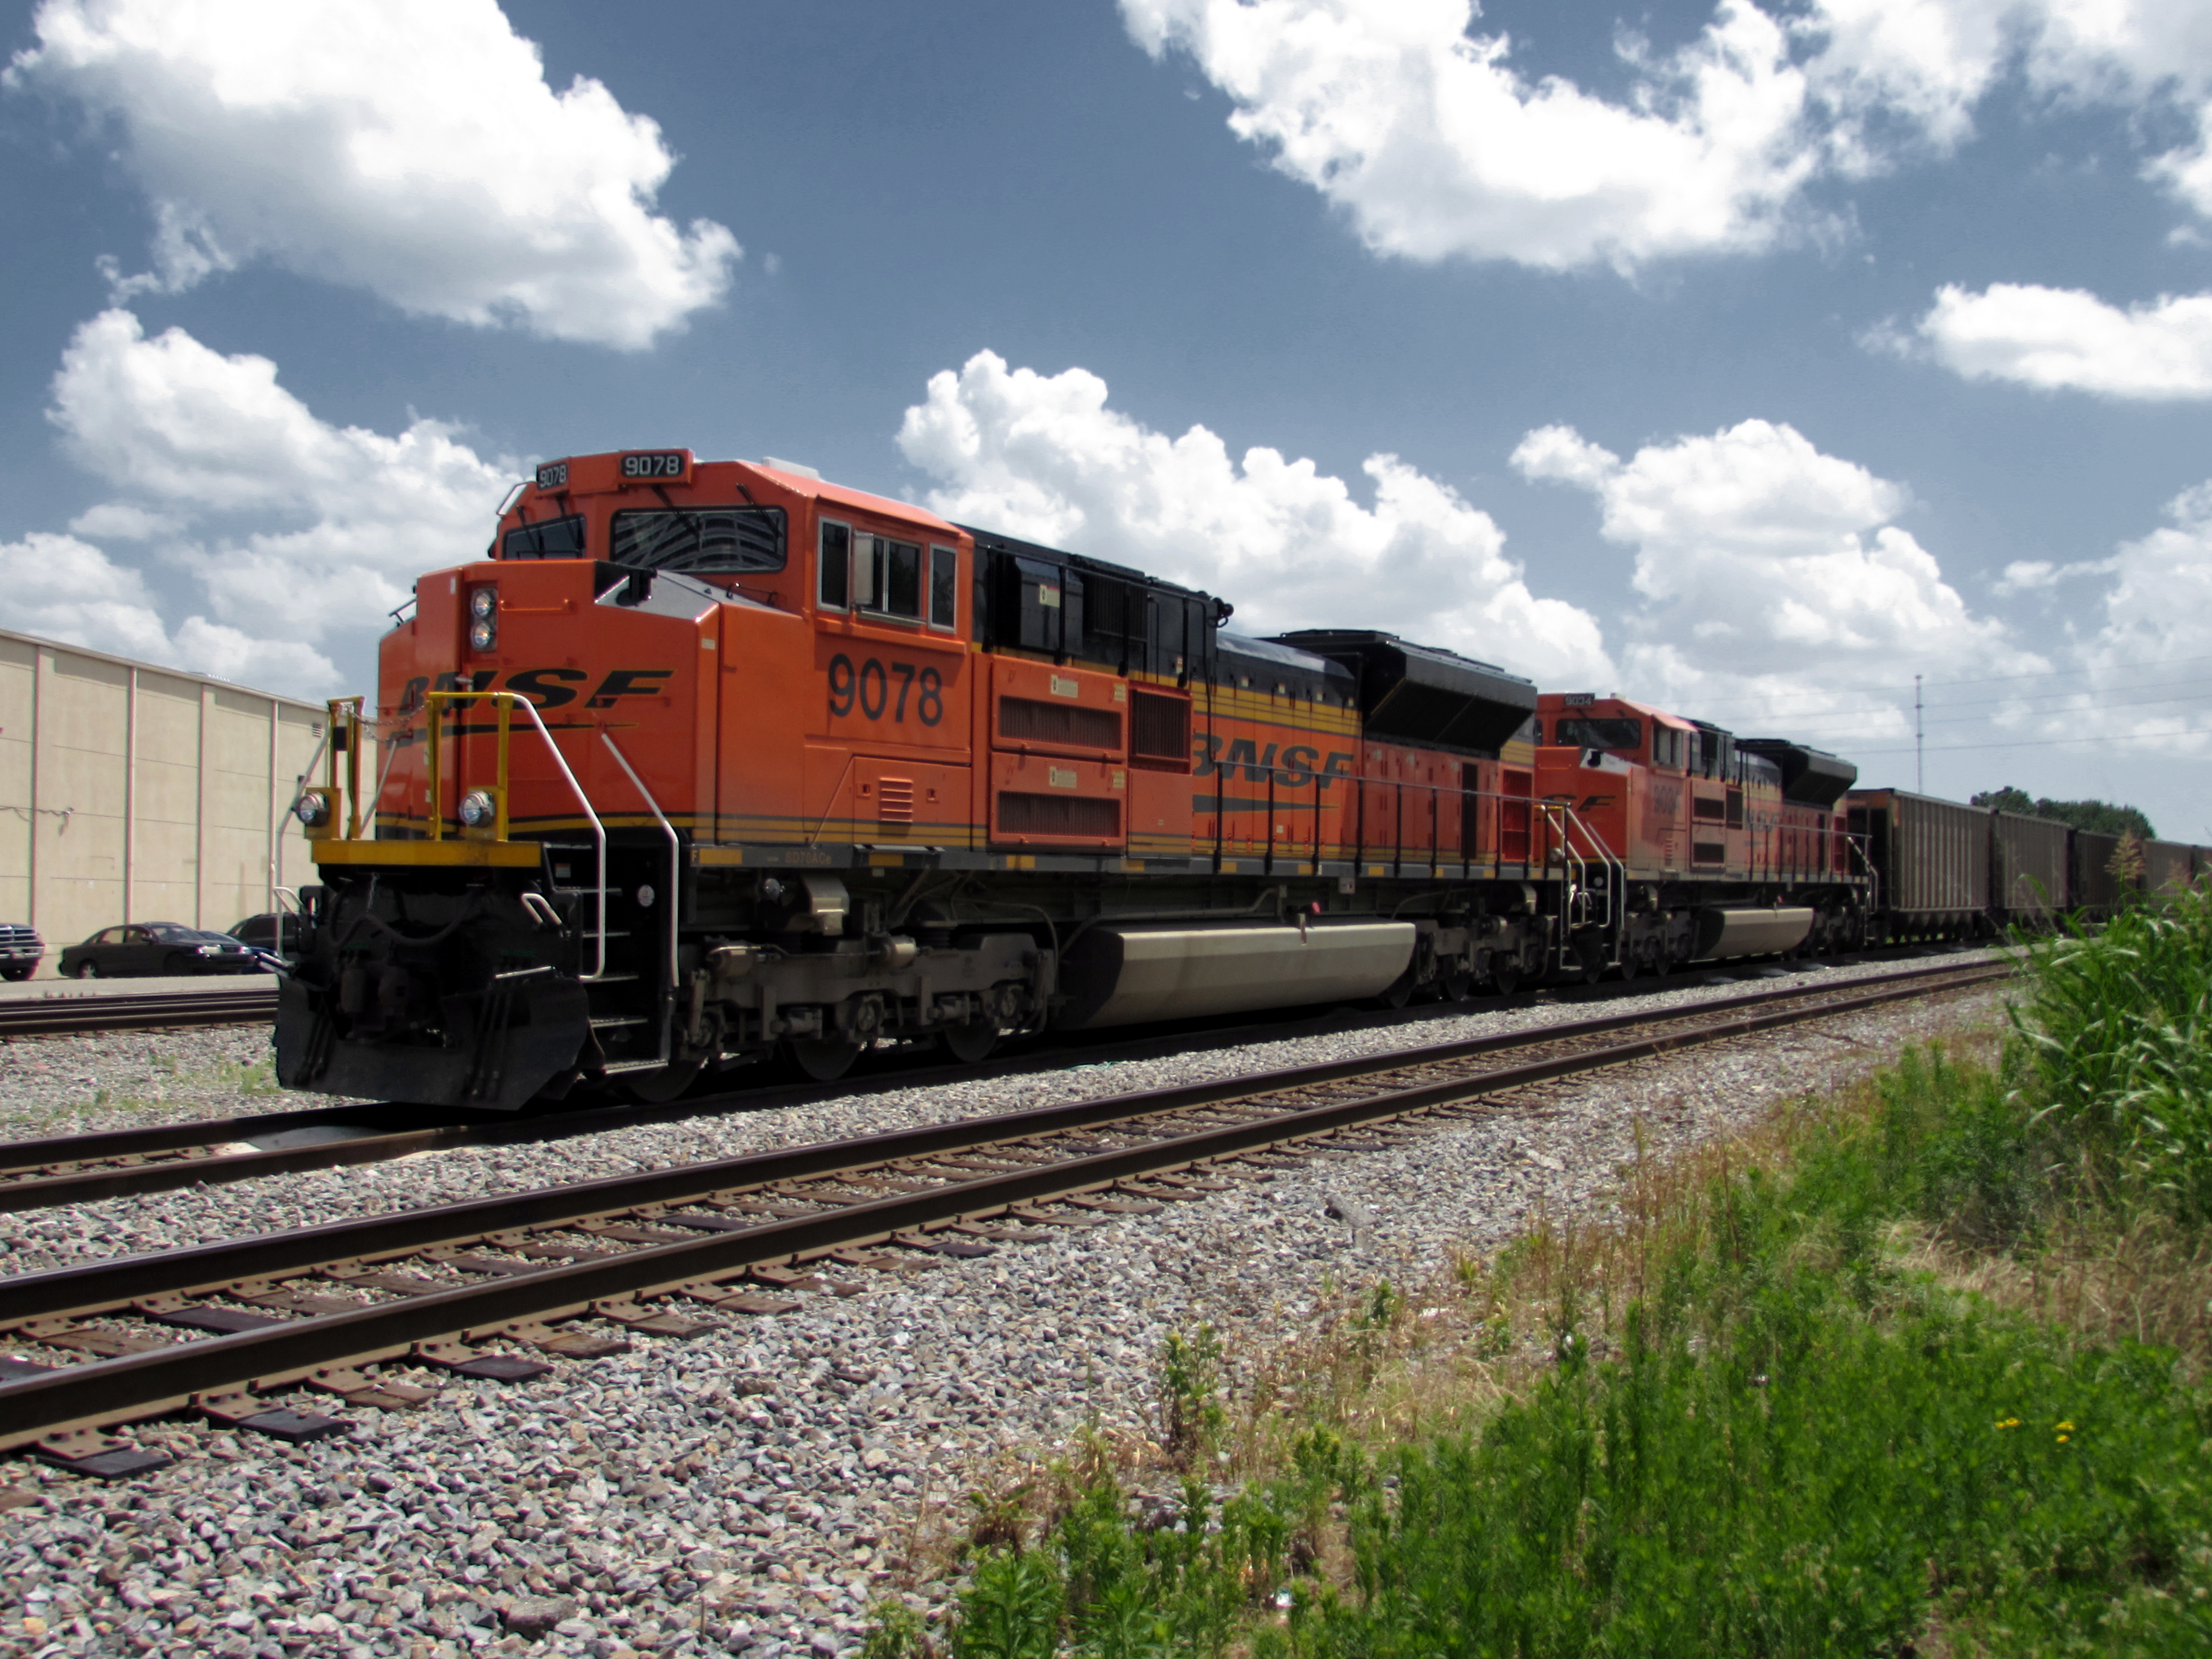
After:
Another one done in a similar way, this time just letting it be as dark as it wants to be. Realistic it ain’t, but it’s kinda neat.